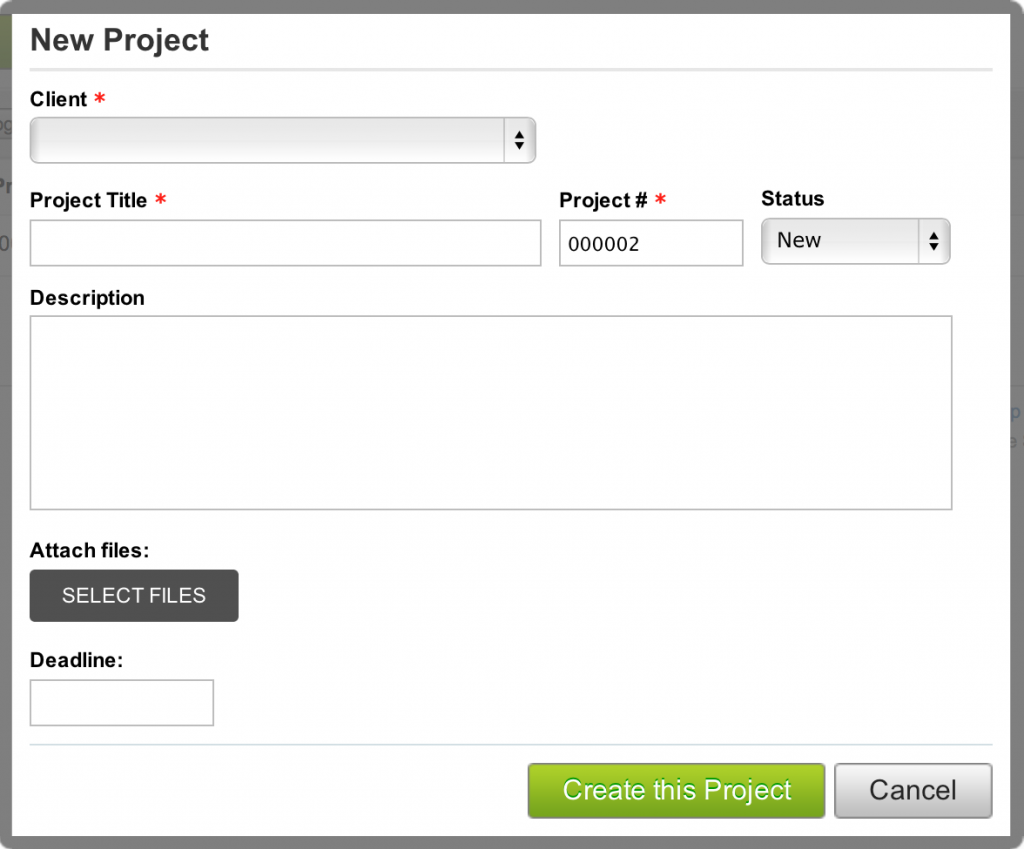
 “Client”, “Project Title”, and “Project #” are required and marked with a red asterisk (*). The rest of the fields are optional. If the client is not on the list, choose “Add New Client”.
The “Project Title” can be the name of the project, or anything that summarizes the project.
The “Project #” is an automatically generated number, however, it can contain numbers and letters.
By default, the “Status” of a new project is New. It can be changed to In Progress, On Hold, or Completed by clicking on the drop-down menu.
The “Description” field can contain more information on the project such as the problem being resolved, or special requests.
Files such as pictures and documents can be attached to the project. Click on the “Select Files” box, and choose the file from the window that comes up.
A date and/or time that the project is due can be set at the “Deadline” field. Click on the field; a calendar window comes up as shown. Click on a date to set the deadline. To go to the previous or next month, click on the arrows on either side of the month. After choosing the date, the time when the project is due can be set.